
Is your HP LaserJet 1020 giving you poor print quality? Frustrating streaks, faded text, or blurry images can ruin your important documents and waste your time.
You rely on your printer to deliver crisp, clear prints every time, but when it doesn’t, it feels like everything slows down. Don’t worry—you’re not alone, and there are simple ways to fix this. Keep reading to discover easy tips that will help you restore your printer’s performance and get those sharp prints back on track.
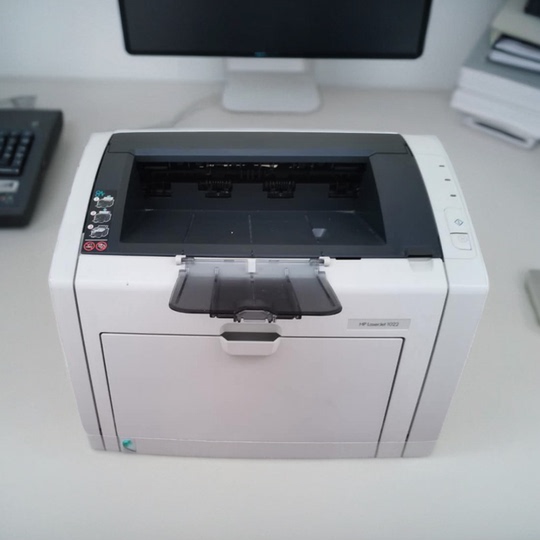
Credit: www.ebuy7.com
Common Causes Of Poor Print Quality
Poor print quality on the HP LaserJet 1020 can be frustrating. It stops you from getting clear, sharp prints. Understanding the common causes helps fix the issue fast. Many times, the problem is simple and easy to solve.
Low Toner Levels
Low toner is a major cause of poor print quality. When toner runs low, prints look faded or light. Sometimes, lines or spots appear on pages. Checking toner levels regularly keeps your prints clear. Replace the cartridge if the toner is almost empty.
Dirty Printer Components
Dirt and dust inside the printer affect print quality. Toner residue can build up on parts like the drum and rollers. This buildup causes smudges, streaks, or blotches on paper. Cleaning the printer components carefully improves the print output. Use a soft cloth and follow the manual instructions.
Incorrect Print Settings
Wrong print settings can cause poor results. Choosing the wrong paper type or print quality setting affects sharpness. For example, using draft mode lowers print quality. Always select the right settings for your job. Check the printer preferences before starting to print.
Worn Out Drum Or Roller
The drum and rollers wear out over time. This wear causes scratches or faded areas on prints. Old rollers may not feed paper properly, causing jams or smears. Replacing these parts restores good print quality. Regular maintenance extends the life of your printer.
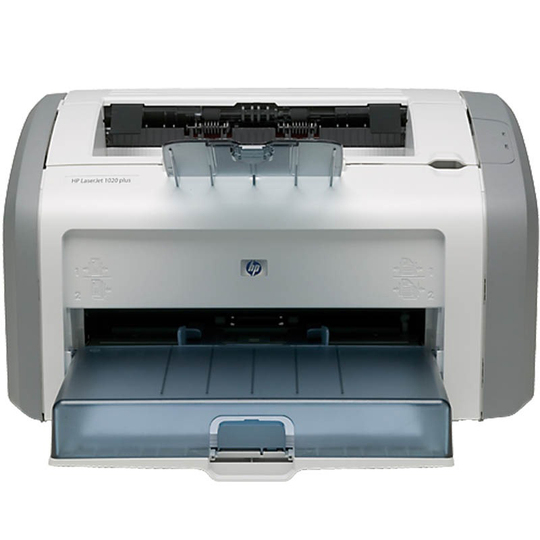
Credit: www.ebuy7.com
Quick Toner Replacement Tips
Poor print quality often happens because of toner issues. Quick toner replacement can fix many common problems. Knowing how to check and replace the toner helps keep your HP LaserJet 1020 running smoothly. This saves time and improves print results.
Checking Toner Cartridge
First, open the printer cover carefully. Take out the toner cartridge gently. Look for low toner levels or leaks. Check for any damage on the cartridge surface. If toner is low or uneven, it needs replacement. Clean the cartridge contacts softly with a dry cloth. This ensures good connection and better print quality.
Replacing Toner Properly
Use the right toner cartridge made for HP LaserJet 1020. Remove the new cartridge from its packaging. Shake it gently side to side. This spreads the toner evenly inside. Insert the cartridge slowly into the printer slot. Make sure it clicks into place securely. Close the printer cover and run a test print. This confirms the replacement worked well.
Cleaning The Printer For Better Prints
Cleaning the printer regularly helps improve print quality. Dirt and toner buildup cause blurry or faded prints. A clean printer works better and lasts longer.
Focus on key parts inside the printer. Cleaning these parts removes dust and old toner. It prevents smudges and streaks on your pages.
Cleaning The Drum Unit
The drum unit is vital for clear prints. It transfers toner to paper. Dirt on the drum causes spots and lines.
Turn off the printer and open the front cover. Remove the drum carefully. Use a soft, lint-free cloth to wipe it gently. Avoid touching the drum surface with your fingers.
Clean until no toner or dust remains. Let the drum dry before putting it back. This step helps keep prints sharp and clean.
Removing Dust And Debris
Dust inside the printer blocks toner from sticking well. Debris can cause paper jams and poor print results.
Use a small, soft brush or compressed air to remove dust. Clean the paper feed rollers carefully. Check corners and hard-to-reach areas.
Regular dust removal keeps your printer running smoothly. It also reduces the risk of print errors and damage.
Adjusting Print Settings
Adjusting print settings can improve the print quality of your HP LaserJet 1020. Many print issues come from wrong settings. Fixing these settings often leads to clearer, sharper prints. It takes just a few steps to make a big difference.
Choosing The Right Paper Type
Selecting the correct paper type is key for good prints. The printer uses different settings for plain, glossy, or thick paper. Picking the wrong type can cause smudges or faded prints. Check the printer settings and match the paper you use. This helps the printer apply the right amount of toner and heat.
Use good-quality paper made for laser printers. Cheap or damp paper often leads to poor results. Keep paper clean and dry before printing. This avoids jams and streaks on the page.
Setting Print Quality Options
Adjusting print quality settings affects how sharp and dark your prints look. The HP LaserJet 1020 usually offers draft, normal, and best quality modes. Draft mode prints fast but with low detail. Best mode prints slower but with clearer text and images.
Choose normal or best quality for important documents. Also, check the toner density setting if available. Increasing toner density can make prints darker. Lower density can save toner but might reduce clarity.
Try different quality settings to see which works best. Small changes here can fix many print quality problems.
Fixing Paper And Roller Issues
Fixing paper and roller issues can improve your HP LaserJet 1020 print quality. Paper feeding problems often cause smudges, streaks, or blank pages. Rollers wear out over time and stop gripping paper correctly. Taking care of these parts helps your printer work smoothly and print clearly.
Inspecting Rollers For Wear
Open the printer cover to see the rollers inside. Look for cracks, smooth shiny spots, or dirt buildup. Rollers should have a slightly rough surface to grip paper well. Worn rollers cause paper jams and poor print quality. Check all rollers, including feed and pickup rollers.
Replacing Or Cleaning Rollers
Cleaning rollers is easy and often fixes feeding problems. Use a soft cloth dampened with water to wipe rollers gently. Avoid harsh chemicals that damage rubber parts. If rollers are too worn or cracked, replace them with new ones. Use parts designed for the HP LaserJet 1020 model. After cleaning or replacing, run a test print to check improvements.
Using Genuine Hp Supplies
Using genuine HP supplies is key to keeping your HP LaserJet 1020 printing well. These supplies include toner cartridges and paper made to work perfectly with your printer. They help avoid many common print quality problems.
Non-genuine or refilled cartridges might seem cheaper. But they can cause smudges, streaks, or faded prints. Genuine HP supplies provide clear, sharp text and images every time.
Better Compatibility
Genuine HP cartridges fit exactly in the LaserJet 1020. This fit prevents leaks and jams. The printer reads the cartridge chip to adjust printing. This ensures consistent print quality without errors.
Improved Toner Quality
HP uses special toner in its cartridges. This toner melts at the right temperature. It sticks well to paper and resists smudging. Non-HP toner may not bond properly, causing blurry prints.
Extended Printer Life
Using genuine supplies reduces wear on printer parts. Poor quality toner can clog printer nozzles and rollers. Clean printing parts mean fewer breakdowns and repairs.
Consistent Print Output
With genuine supplies, print results remain stable. Colors stay vibrant and text stays crisp. This reliability is important for documents and photos.
Performing A Printer Reset
Performing a printer reset can fix many print quality problems with the HP LaserJet 1020. Resetting clears temporary errors and refreshes the printer’s settings. It is a simple first step before trying more complex solutions. Both soft and hard resets can help improve print output.
Soft Reset Steps
Turn off the printer using the power button. Wait for about 30 seconds to one minute. Unplug the power cord from the outlet. Leave it unplugged for another 30 seconds. Plug the power cord back into the outlet. Turn the printer on and let it initialize. Check if the print quality has improved.
Hard Reset Procedure
Power off the printer and unplug it from the power source. Open the printer’s top cover carefully. Remove the toner cartridge gently and place it on a clean surface. Press and hold the power button for 30 seconds. Release the power button and reinstall the toner cartridge. Close the printer cover and plug the printer back in. Turn the printer on and test the print quality again.

Credit: www.youtube.com
When To Seek Professional Help
Knowing when to seek professional help for your HP LaserJet 1020 saves time and stress. Some print quality problems need expert care. Trying to fix serious issues alone may cause more damage. Recognizing these moments helps you get back to smooth printing faster.
Signs Of Hardware Failure
Prints show consistent streaks or smudges despite cleaning. The printer makes unusual noises during operation. Paper jams happen repeatedly in the same spot. The toner cartridge does not fit or print correctly. The printer fails to start or stops mid-job without error. These signs suggest hardware parts might be damaged or worn out.
Contacting Hp Support
HP support offers guidance and repair options for your printer. Have your printer model and serial number ready. Describe the problem clearly, including error messages. Follow their instructions for troubleshooting steps. They may recommend service centers or replacement parts. Using official support ensures correct fixes and protects your warranty.
Frequently Asked Questions
Why Is My Hp Laserjet 1020 Printing Blurry Pages?
Blurry prints often mean the toner cartridge is low or the drum needs cleaning.
How Can I Fix Streaks On Hp Laserjet 1020 Prints?
Check for dirty rollers or a damaged toner cartridge and clean or replace them.
What Causes Faded Print On Hp Laserjet 1020?
Low toner levels or incorrect print density settings usually cause faded prints.
Can Old Printer Drivers Cause Poor Hp Laserjet 1020 Print Quality?
Yes, outdated drivers may lead to print problems. Updating them can help improve quality.
How Do I Clean My Hp Laserjet 1020 For Better Print Quality?
Turn off the printer, open it, and gently clean the rollers and toner area with a soft cloth.
Conclusion
Poor print quality on the HP LaserJet 1020 can be frustrating. Cleaning the printer and replacing old toner often helps. Check for paper jams or low ink levels too. Regular maintenance keeps your prints sharp and clear. Small fixes save time and money.
Stay patient and try simple steps first. Clear, crisp prints are possible with care. Don’t let poor quality slow your work. Keep your printer in good shape for best results.