
Is your GE Profile ice maker not making ice as fast or as clean as it used to? You might not realize it, but a simple cleaning can make a huge difference.
Over time, mineral deposits and dirt build up inside, affecting both the taste and the machine’s performance. In this guide, you’ll learn easy steps to get your ice maker sparkling clean again, so your ice is fresh and your appliance runs smoothly.
Keep reading to discover how a little maintenance can save you time, money, and frustration.
Why Clean Your Ice Maker
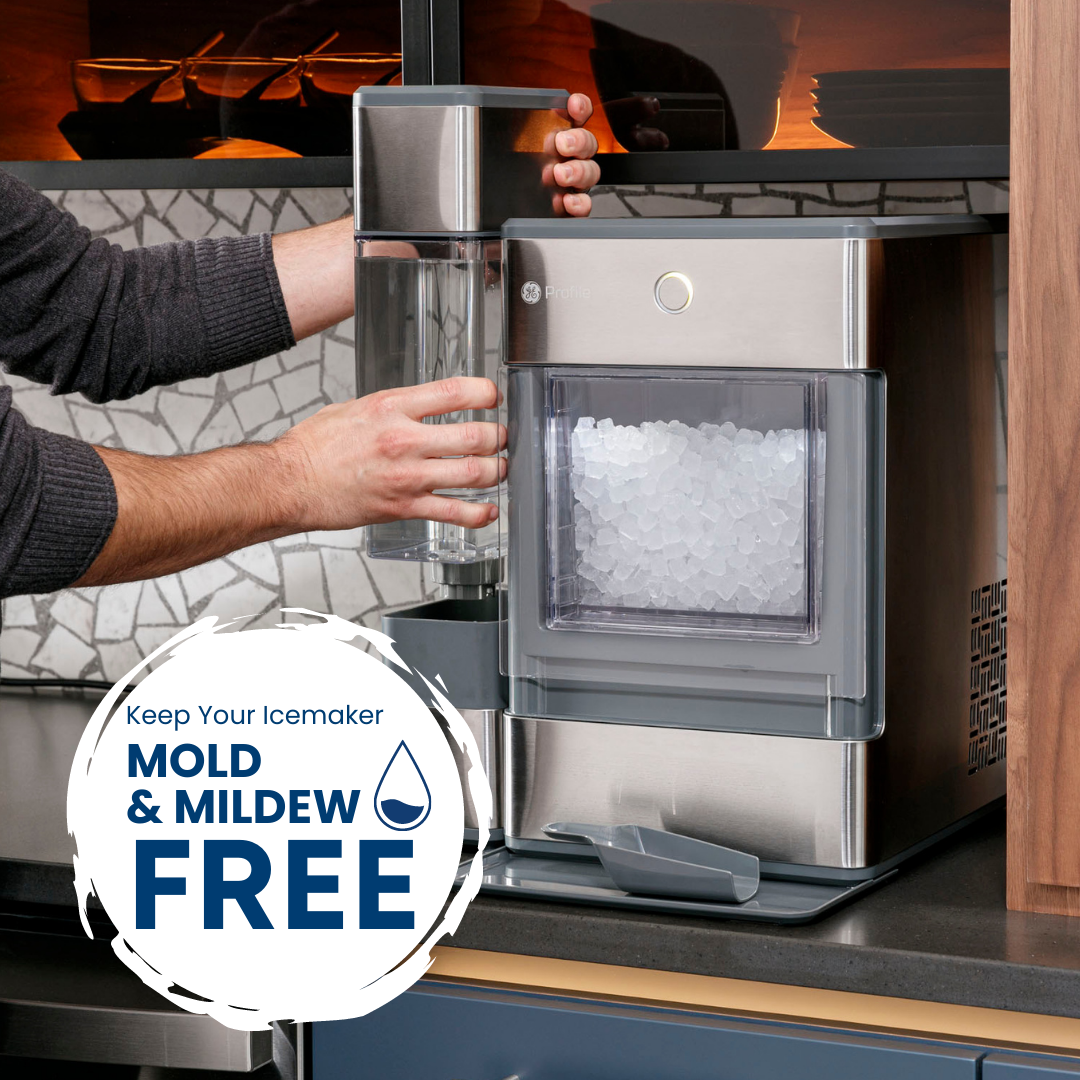
Cleaning your GE Profile ice maker is important for many reasons. Dirt, mold, and bacteria can build up inside. This affects the ice you use every day. Regular cleaning keeps your ice maker working well. It also helps keep your ice safe and tasty. Below are key reasons to clean your ice maker.
Health Benefits
Ice makers can grow germs and mold. These can make you sick. Cleaning stops bacteria from spreading. It helps keep your water clean. Safe ice means safer drinks for your family.
Improved Ice Quality
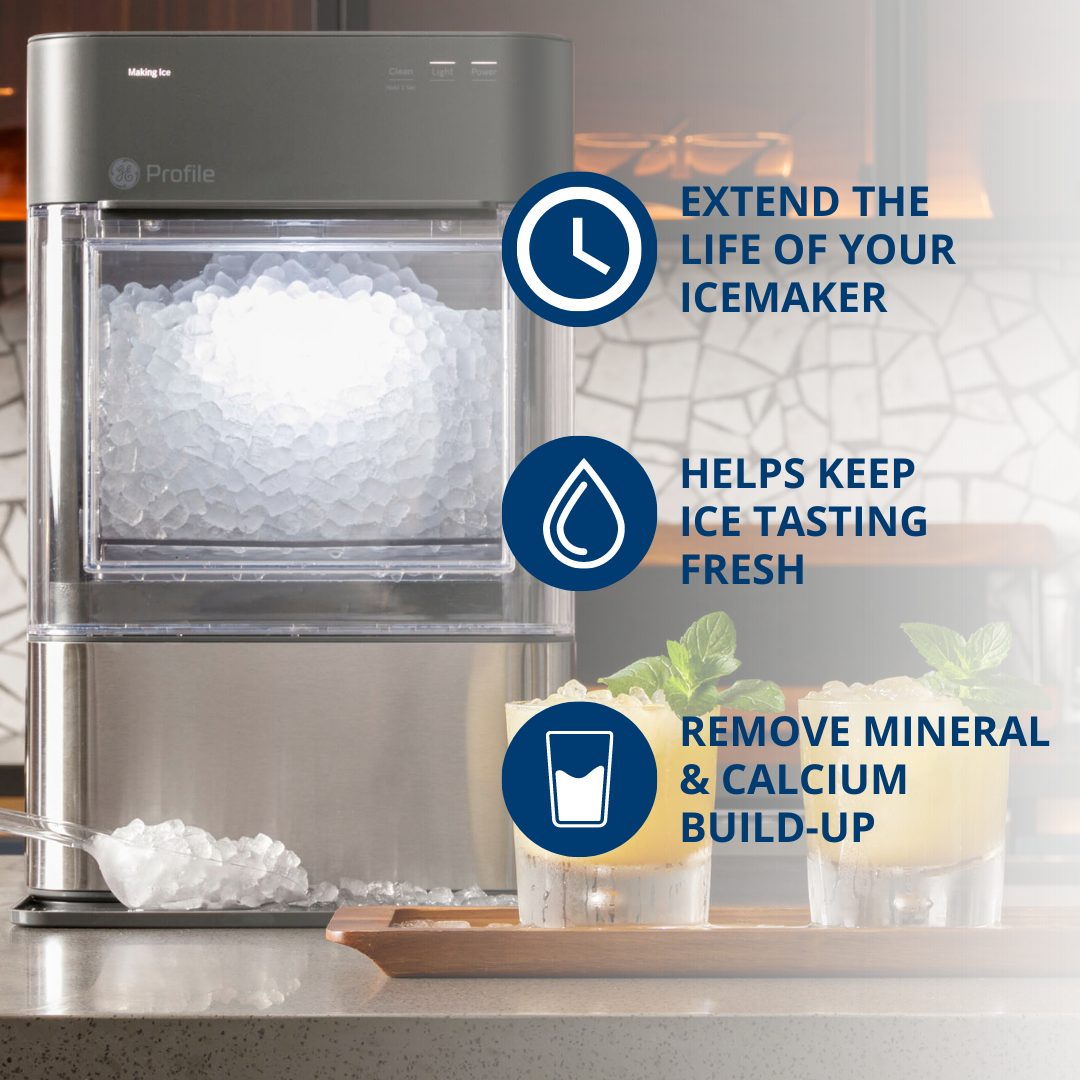
Dirty ice makers make ice that tastes bad. Old dirt changes the ice smell and look. Cleaning removes buildup and makes ice clear. Fresh ice feels better in your drinks.
Extending Appliance Life
Dirt and scale can break your ice maker parts. Cleaning stops damage and keeps parts working. It helps your machine last longer. Avoid costly repairs by cleaning often.
When To Clean Your Ge Ice Maker
Knowing when to clean your GE ice maker helps keep it working well. Dirt and mineral build-up can affect ice taste and machine performance. Regular cleaning prevents problems and ensures fresh ice every time.
Signs It Needs Cleaning
Ice looks cloudy or smells strange. Ice cubes stick together or melt too fast. Water leaks or drips inside the machine. Ice production slows down or stops completely. These signs show it is time to clean the ice maker.
Recommended Cleaning Frequency
Clean your GE ice maker every three to six months. If you have hard water, clean it more often. Follow the user manual for specific cleaning steps. Regular cleaning keeps your ice fresh and your machine healthy.
Gathering Cleaning Supplies
Gathering the right supplies is the first step in cleaning your GE Profile ice maker. Using safe and effective items helps keep the appliance working well. Prepare everything before you start. This saves time and prevents mistakes.
Safe Cleaning Agents
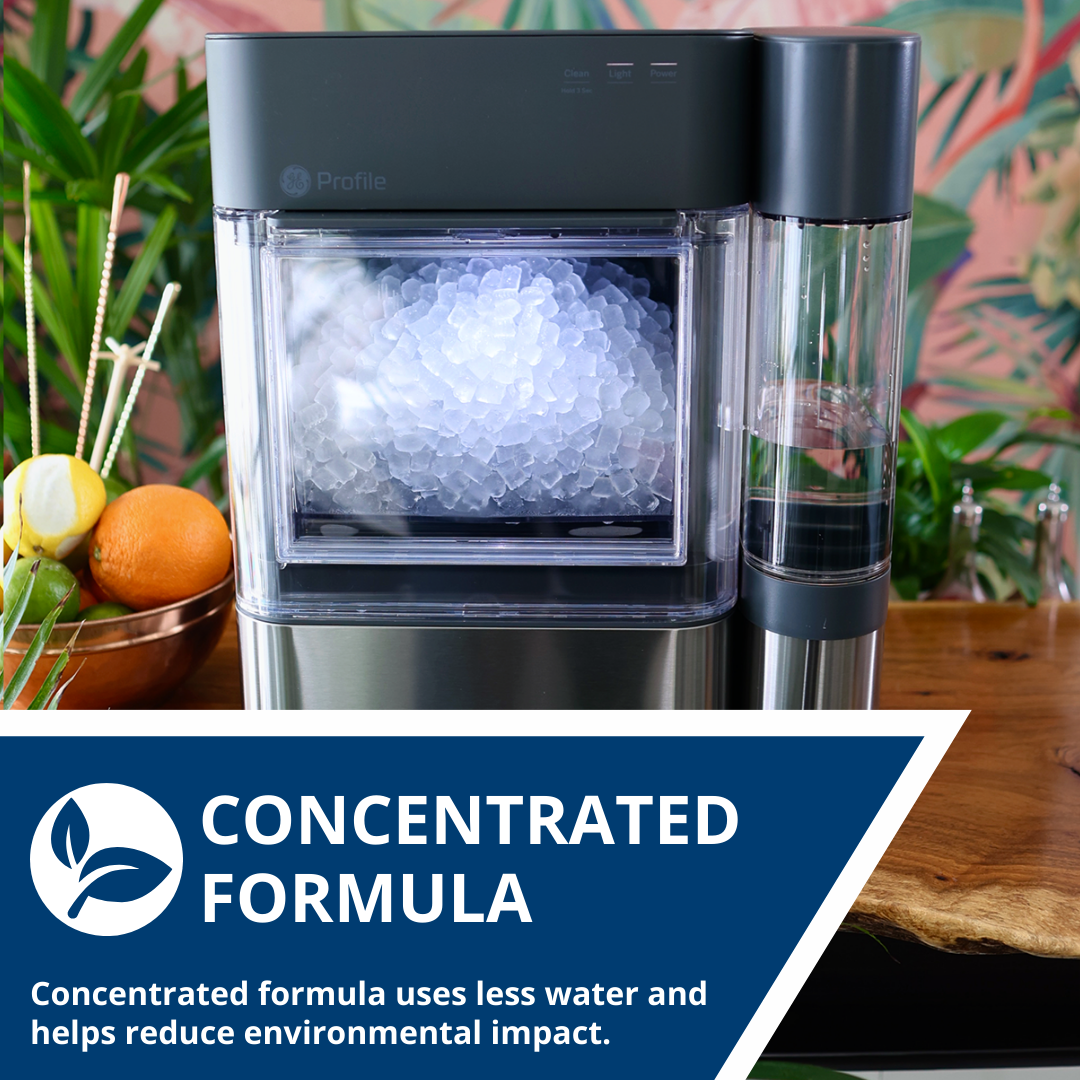
Choose gentle cleaning agents to protect the ice maker’s parts. Mild dish soap is a good choice. Avoid harsh chemicals like bleach or ammonia. These can damage the machine and leave harmful residues. White vinegar is another safe option. It removes buildup and kills germs naturally. Use only small amounts to avoid strong smells.
Tools You’ll Need
Gather simple tools for the cleaning process. A soft cloth or sponge helps wipe surfaces without scratching. A small brush or old toothbrush cleans tight spots and crevices. Have a bowl or bucket ready for mixing cleaning solutions. Paper towels or clean rags are useful for drying. Keep a towel on hand to catch drips and spills.
Credit: www.atlanticappliance.com
Step-by-step Cleaning Process
Cleaning your GE Profile ice maker helps keep the ice fresh and the machine working well. A clean ice maker prevents bad smells and keeps the ice safe to eat. Follow these simple steps to clean your ice maker easily and quickly.
Turning Off And Unplugging
Start by turning off your ice maker. Unplug it from the power source to stay safe. This stops the machine while you clean it. Never clean the ice maker while it is plugged in.
Emptying The Ice Bin
Remove all ice from the bin. Throw away old or cloudy ice. This step clears space for cleaning. Wipe the bin with a dry cloth to remove loose ice.
Removing And Cleaning Components
Take out removable parts like the ice bin and trays. Wash them with warm water and mild soap. Use a soft cloth or sponge to avoid scratches. Rinse all parts well to remove soap.
Wiping Down The Interior
Use a damp cloth to clean the inside of the ice maker. Wipe all surfaces gently. Avoid using harsh chemicals or abrasive pads. Clean areas where ice forms and water flows.
Rinsing And Reassembling
Rinse all parts with clean water to remove any cleaning residue. Dry parts completely before putting them back. Reassemble the ice maker carefully. Plug it back in and turn it on.
Tips For Maintaining A Clean Ice Maker
Keeping your GE Profile ice maker clean helps it work well and last longer. Dirt and buildup can cause bad taste and slow ice making. Simple steps can keep your ice fresh and safe. Follow these easy tips to maintain your ice maker.
Regular Wiping
Wipe the ice maker’s inside and outside often. Use a soft cloth and mild soap. Clean surfaces stop germs and mold from growing. Dry the area well after wiping. Regular cleaning keeps ice fresh and clear.
Water Filter Replacement
Change the water filter as the manual says. A clean filter stops impurities from entering the ice. Old filters can cause strange tastes and odors. Replace the filter every six months or more often if needed. Fresh filters improve ice quality and machine health.
Avoiding Contaminants
Keep hands and containers clean before handling ice. Do not store strong-smelling food near the ice maker. Contaminants can change the ice’s taste and smell. Use clean, sealed containers for ice storage. This helps keep your ice pure and fresh.
Credit: www.hometownbrandappliances.com
Troubleshooting Common Issues
Troubleshooting common issues with your GE Profile ice maker can save time and avoid costly repairs. Many problems have simple fixes. Understanding these issues helps keep your ice maker working smoothly.
Regular cleaning and maintenance also prevent most problems. Here are some common issues and easy solutions to try.
Ice Maker Not Producing Ice
Check if the ice maker is turned on. Make sure the water supply is connected and running. A clogged water filter can stop water flow. Replace the filter every six months. Ensure the freezer temperature is set between 0 and 5 degrees Fahrenheit. Too warm or too cold can stop ice production.
Strange Tastes Or Odors
Old ice or dirty water lines cause bad smells and tastes. Clean the ice bin and dispenser regularly. Replace the water filter to remove impurities. Use filtered water to improve ice quality. Run the ice maker for a few cycles after cleaning to clear old ice.
Ice Clumping Or Sticking
Ice cubes stick if the bin is too full. Remove excess ice to allow space. High humidity can cause ice to clump together. Keep the freezer door closed to reduce moisture. Clean the ice maker to remove frost build-up. This helps ice cubes stay separate and fresh.
Credit: www.atlanticappliance.com
Frequently Asked Questions
How Often Should I Clean My Ge Profile Ice Maker?
Clean the ice maker every 3 to 6 months for best ice quality and hygiene.
What Supplies Do I Need To Clean The Ice Maker?
Use warm water, mild soap, a soft cloth, and a vinegar solution.
Can I Clean The Ice Maker Without Removing It?
Yes, clean inside parts carefully without removing the ice maker unit.
How Do I Remove Mineral Buildup In My Ice Maker?
Use a vinegar and water mix to dissolve and wipe away mineral deposits.
What Happens If I Don’t Clean My Ice Maker Regularly?
Ice may taste bad, and the machine could clog or stop working properly.
Conclusion
Cleaning your GE Profile ice maker keeps ice fresh and tastes better. Regular care stops buildup and prevents clogs. It also helps your machine run smoothly and last longer. A clean ice maker saves you time and money on repairs.
Small steps make a big difference in ice quality. Keep your ice maker clean for the best results every day. Easy to do, worth the effort. Your ice deserves it.