
Are you frustrated because your Dewalt 20V blower isn’t working like it should? You rely on this tool to clear leaves and debris quickly, but when problems pop up, it can slow you down and leave you wondering what’s wrong.
Don’t worry—you’re not alone. Many users face common issues with their Dewalt 20V blowers, and the good news is, most of these problems have simple fixes. You’ll discover the top Dewalt 20V blower problems and easy solutions that can get your blower back to peak performance in no time.
Keep reading to save time, avoid costly repairs, and get your yard looking great again.

Credit: www.amazon.com
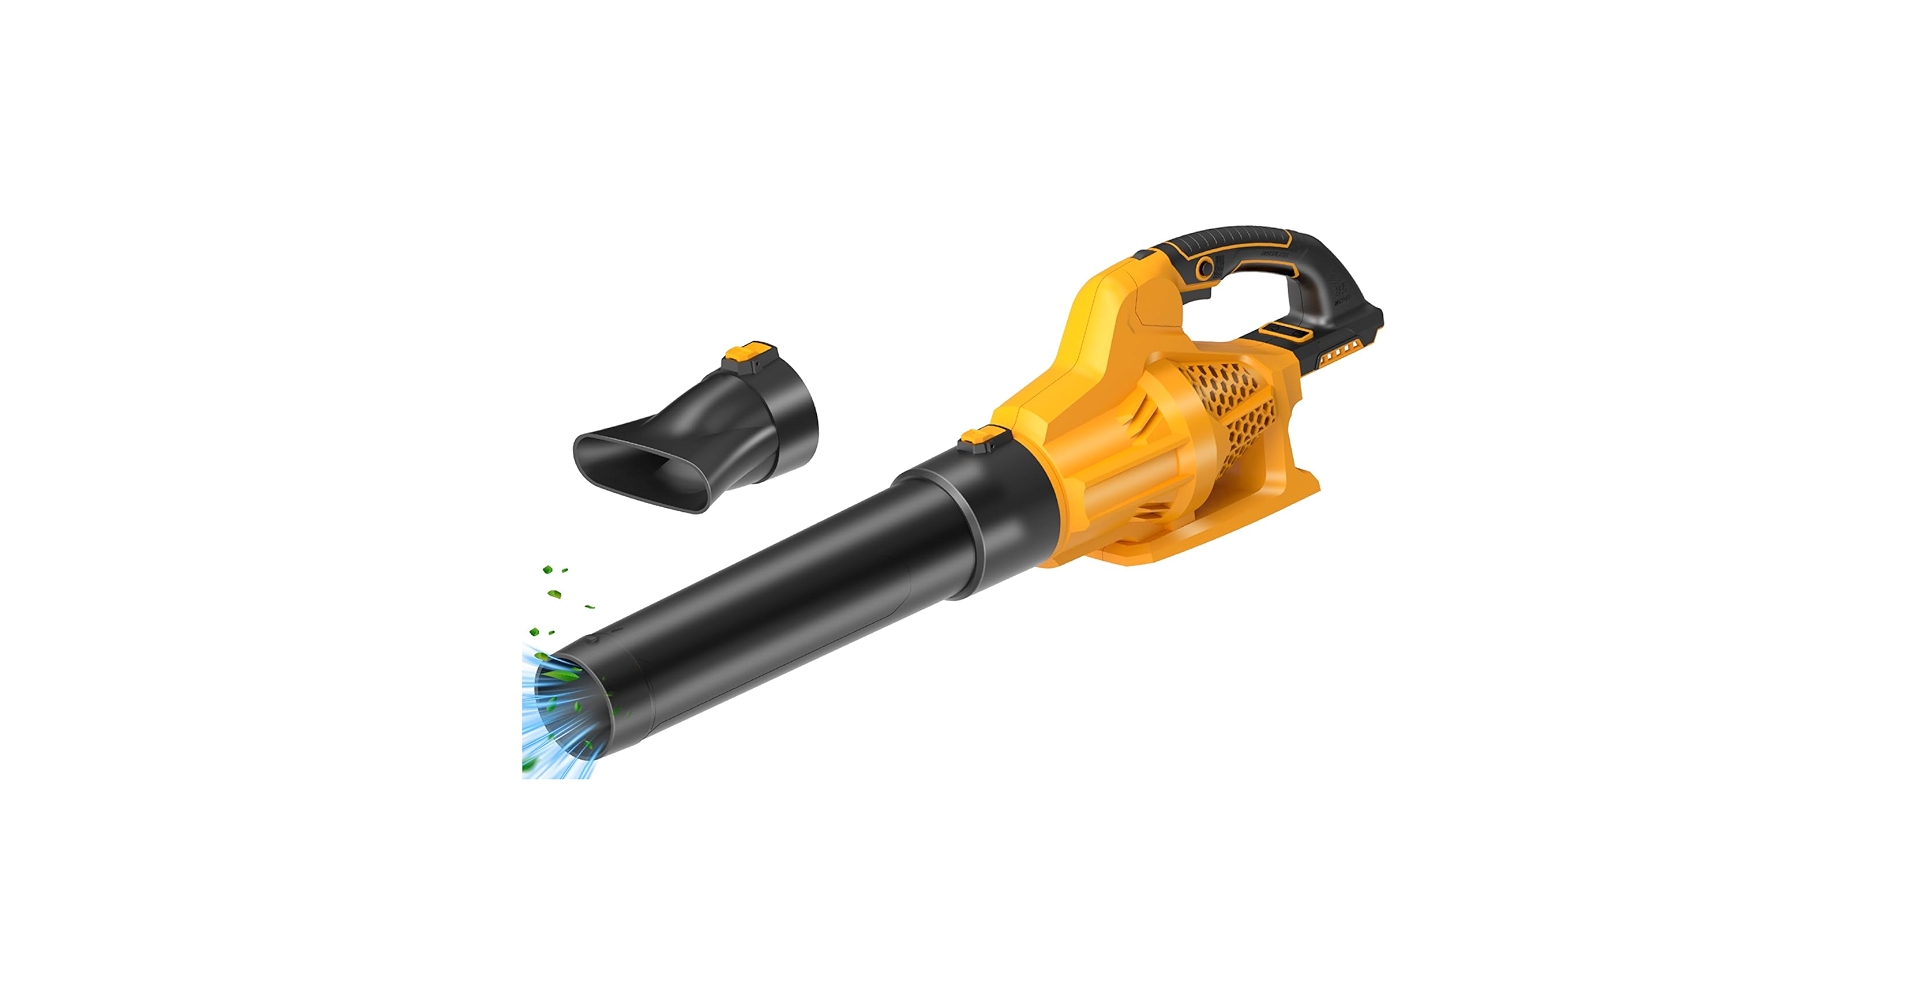
Common Dewalt 20v Blower Issues
The Dewalt 20V blower is popular for yard work and cleaning tasks. Many users face common issues that affect its performance. Knowing these problems helps in quick troubleshooting and repair.
Below are the most frequent issues reported by users. Understanding these can save time and money.
Battery And Power Problems
The blower may not start or stops suddenly. Low battery charge often causes this. Faulty battery connections also lead to power loss. Sometimes, the battery fails to hold charge after repeated use. Checking the battery health and connections is key.
Motor Malfunctions
The motor might make strange noises or stop running. Overheating can cause motor failure. Dirt and debris inside the motor block its function. Regular cleaning and avoiding overload protect the motor. A worn-out motor needs professional repair.
Airflow Reduction
Low airflow reduces the blower’s efficiency. Clogged air vents or filters often cause this. Debris buildup inside the blower tube also blocks airflow. Cleaning these parts restores proper air movement. Check for cracks or damage in the blower tube.
Switch And Trigger Failures
The blower may not respond to the trigger or switch. Faulty wiring or worn-out switch parts cause this issue. Dust and moisture can damage internal switch components. Replacing the switch or cleaning contacts often fixes the problem.

Credit: www.reddit.com
Troubleshooting Battery And Charging
Battery and charging issues are common with the Dewalt 20V blower. These problems can stop your tool from working well. Understanding how to troubleshoot battery and charging troubles helps keep your blower ready to use.
Problems often start with the battery or charger. Knowing how to check and care for these parts saves time and money. Simple steps can fix many common issues without professional help.
Checking Battery Health
Start by inspecting the battery for damage. Look for cracks, leaks, or swelling. These signs mean the battery needs replacement. Clean the battery terminals with a dry cloth. Dirty contacts can block power flow. Use a multimeter to check battery voltage. Low voltage means the battery may be weak or dead. Try the battery in another tool. If it does not work, the battery is likely the problem.
Proper Charging Techniques
Use only the charger made for your Dewalt 20V battery. Plug the charger into a working outlet. Insert the battery firmly into the charger. Watch the charger’s light for status. A blinking light might show a charging error. Avoid charging the battery in very hot or cold places. Let the battery cool before charging if it feels hot. Remove the battery once fully charged to prevent overcharging.
Battery Replacement Tips
Replace the battery if it no longer holds a charge. Buy a battery that fits your Dewalt blower model. Check the battery’s voltage and capacity before purchase. Store new batteries in a cool, dry place. Dispose of old batteries properly at recycling centers. Keep spare batteries charged and ready for use. This ensures your blower runs without interruption.
Fixing Motor And Mechanical Issues
Fixing motor and mechanical issues in a Dewalt 20V blower is key to keeping it running well. Problems like weak airflow or strange noises often come from motor or mechanical faults. Understanding how to clean, check, and repair these parts saves time and money.
Cleaning And Maintenance
Start by cleaning the blower regularly. Dust and debris can block airways and cause motor strain. Use a soft brush or compressed air to remove dirt from vents and moving parts. Regular cleaning helps the motor run cooler and lasts longer. Always remove the battery before cleaning to stay safe.
Inspecting Brushes And Bearings
Brushes and bearings wear out over time. Check the carbon brushes for signs of damage or wear. Worn brushes can cause poor motor performance or failure. Bearings support the motor shaft and allow smooth rotation. Listen for grinding noises that may mean bad bearings. Replace worn brushes and bearings to restore proper function.
Repairing Motor Components
Sometimes motor parts break or get damaged. Check the armature and stator for burns or cracks. Damaged parts need replacement to avoid further issues. Use a multimeter to test electrical continuity in motor components. Fix loose connections or broken wires carefully. Proper repairs improve blower power and reliability.
Restoring Airflow Performance
Restoring the airflow performance of your Dewalt 20V blower is key for effective use. Over time, dust and debris can slow down the air output. This section guides you through simple steps to bring back strong airflow. Follow these tips to keep your blower running smoothly and efficiently.
Clearing Air Intake And Nozzle
Start by checking the air intake and nozzle for dirt or blockages. These parts often gather dust, which reduces airflow. Use a soft brush or cloth to clean these areas carefully. Avoid pushing dirt further inside the blower. Clear passageways help air move freely, improving blower power.
Removing Debris And Blockages
Debris inside the blower can cause serious airflow issues. Look inside the blower tube and fan area for stuck leaves or twigs. Use a small tool or compressed air to remove them. Keep the blower unplugged before cleaning to stay safe. Removing blockages restores full air pressure and efficiency.
Ensuring Proper Assembly
Check that all parts fit correctly after cleaning. Loose or misaligned parts reduce airflow and can damage the blower. Follow the user manual for correct assembly steps. Tighten screws and connect pieces securely. Proper assembly guarantees your blower works at its best performance.
Addressing Switch And Trigger Problems
Switch and trigger problems are common issues with the Dewalt 20V blower. These parts control the power flow and speed of the blower. Faulty switches or triggers can cause the blower to stop working or work irregularly. Fixing these problems quickly helps keep your blower running smoothly.
Testing Electrical Connections
Start by checking the electrical connections inside the blower. Loose or dirty wires can stop the blower from working. Use a screwdriver to open the blower casing carefully. Look for any disconnected or damaged wires near the switch and trigger. Use a multimeter to test if electricity flows through the switch. No flow means a problem in the connection or switch.
Replacing Faulty Switches
When testing shows the switch is bad, replace it. Purchase the correct replacement switch for the Dewalt 20V model. Remove the old switch by disconnecting its wires and unscrewing it. Connect the new switch wires exactly as the old one was. Tighten screws and close the casing before testing the blower. A new switch often solves power and trigger issues.
Preventing Future Failures
Keep the blower clean and dry to avoid switch problems. Dirt and moisture cause electrical parts to fail faster. Store the blower in a dry place and clean it regularly. Avoid dropping or hitting the blower to protect internal parts. Check switches and triggers for wear during regular maintenance. Small care steps extend the life of your Dewalt 20V blower.
Credit: www.amazon.com
Preventive Care For Longevity
Taking care of your Dewalt 20V blower helps it last longer. Simple steps prevent many common problems. Regular maintenance keeps the blower running smoothly. It saves money on repairs and replacements.
Regular Cleaning Routines
Clean the blower after each use. Remove dust and debris from vents and blades. Use a soft brush or cloth for cleaning. Avoid water contact with the motor area. Keeping parts clean stops overheating and clogging.
Safe Storage Practices
Store the blower in a dry, cool place. Avoid leaving it in direct sunlight or damp areas. Use the original case or a protective cover. Proper storage prevents rust and battery damage. It also protects the blower from accidental drops.
Using Genuine Parts
Always choose genuine Dewalt replacement parts. Fake parts may not fit well or last long. Genuine parts ensure safety and performance. They keep the blower working as designed. This reduces breakdowns and extends tool life.
Frequently Asked Questions
Why Is My Dewalt 20v Blower Not Turning On?
Check the battery charge and make sure it is properly connected to the blower.
How To Fix Low Airflow In Dewalt 20v Blower?
Clean the air vents and remove any debris blocking the fan or air path.
What Causes Overheating In Dewalt 20v Blower?
Continuous use without breaks can cause the motor to overheat and shut down.
Why Does My Dewalt 20v Blower Lose Power Quickly?
Battery age or damage often causes rapid power loss during use.
How To Reset Dewalt 20v Blower After It Stops Working?
Turn off the blower, remove and reinsert the battery, then switch it on again.
Conclusion
Dewalt 20V blower problems can be fixed with simple steps. Check the battery and clean the air vents first. Keep the blower dry and avoid overloading it. Regular care helps the tool work longer and better. Small issues do not mean the blower is bad.
Staying patient and following these tips saves time and money. Keep your blower ready for any job, every time.